
Cheese Naan (Easy Homemade Naan Bread in 1 Hour!)
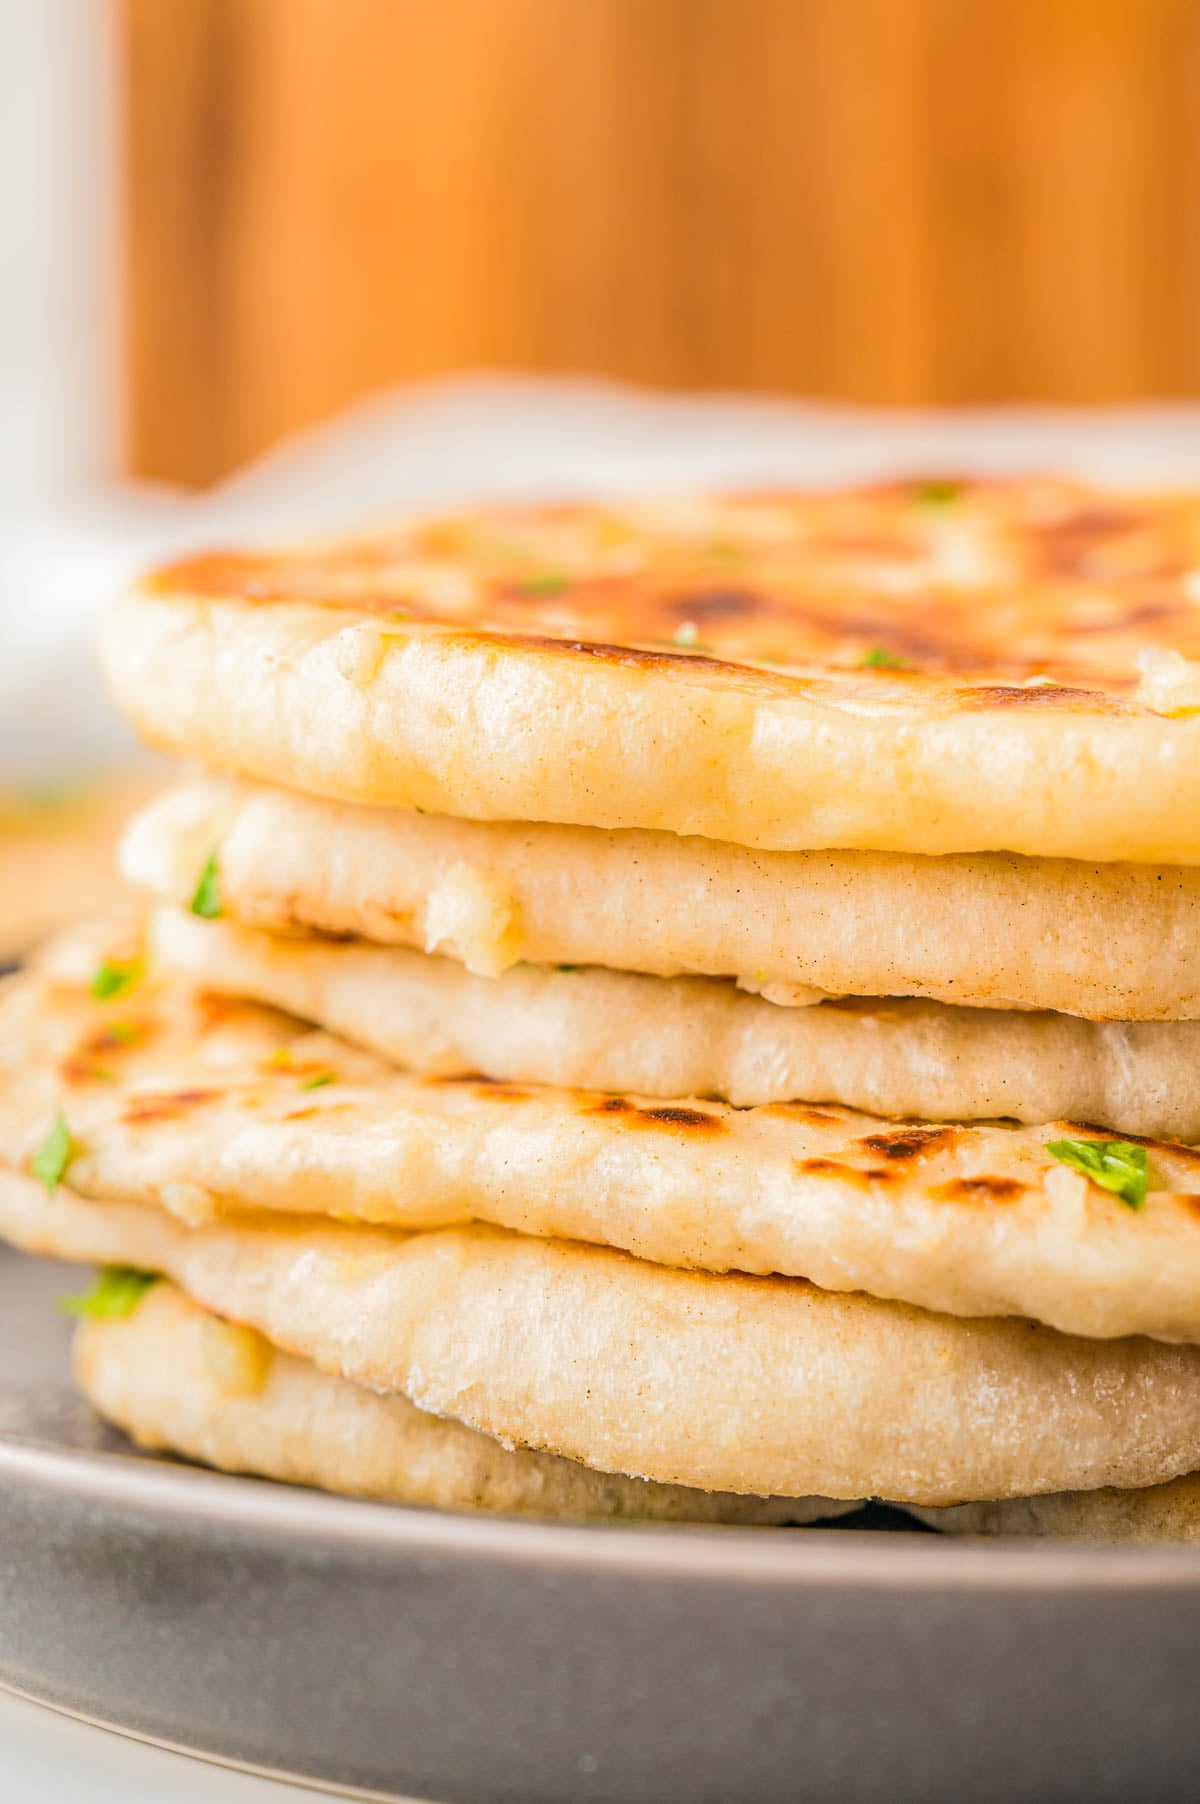
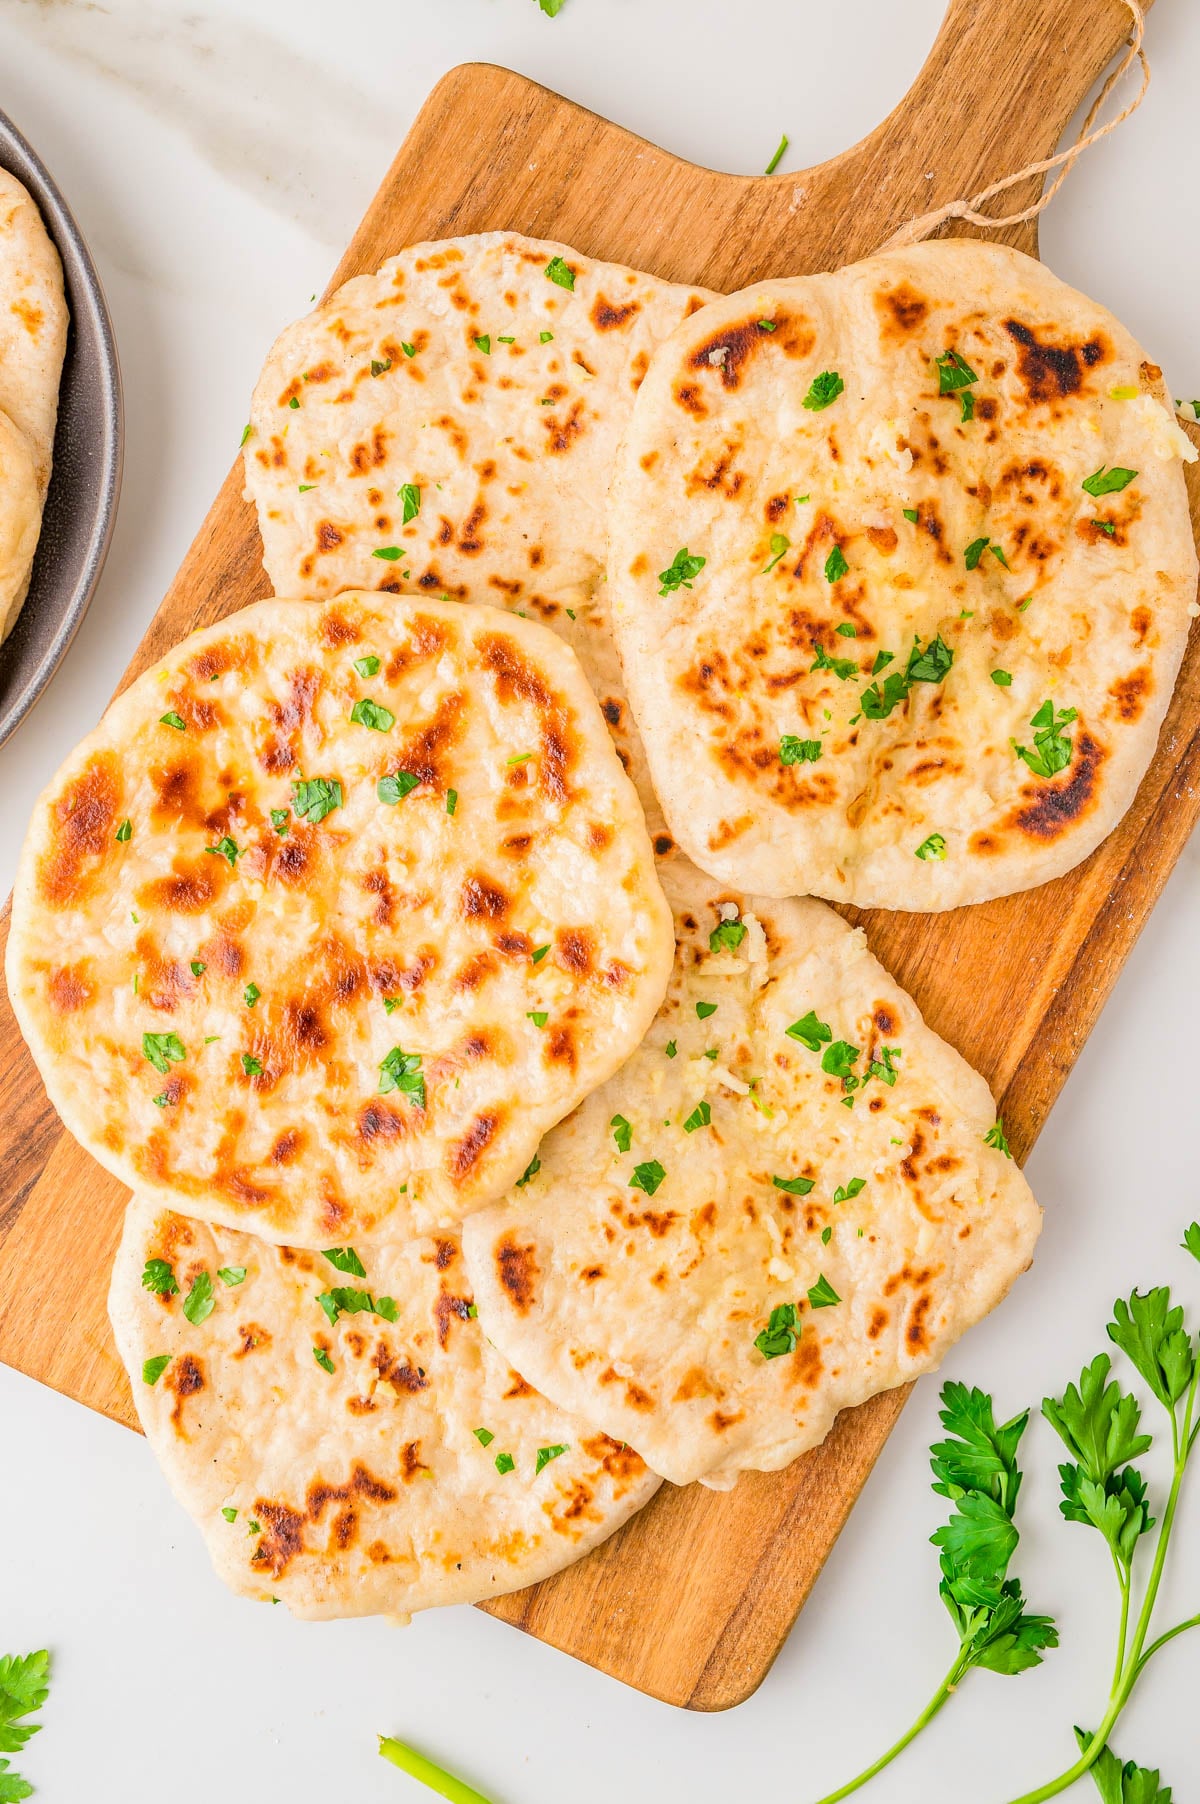
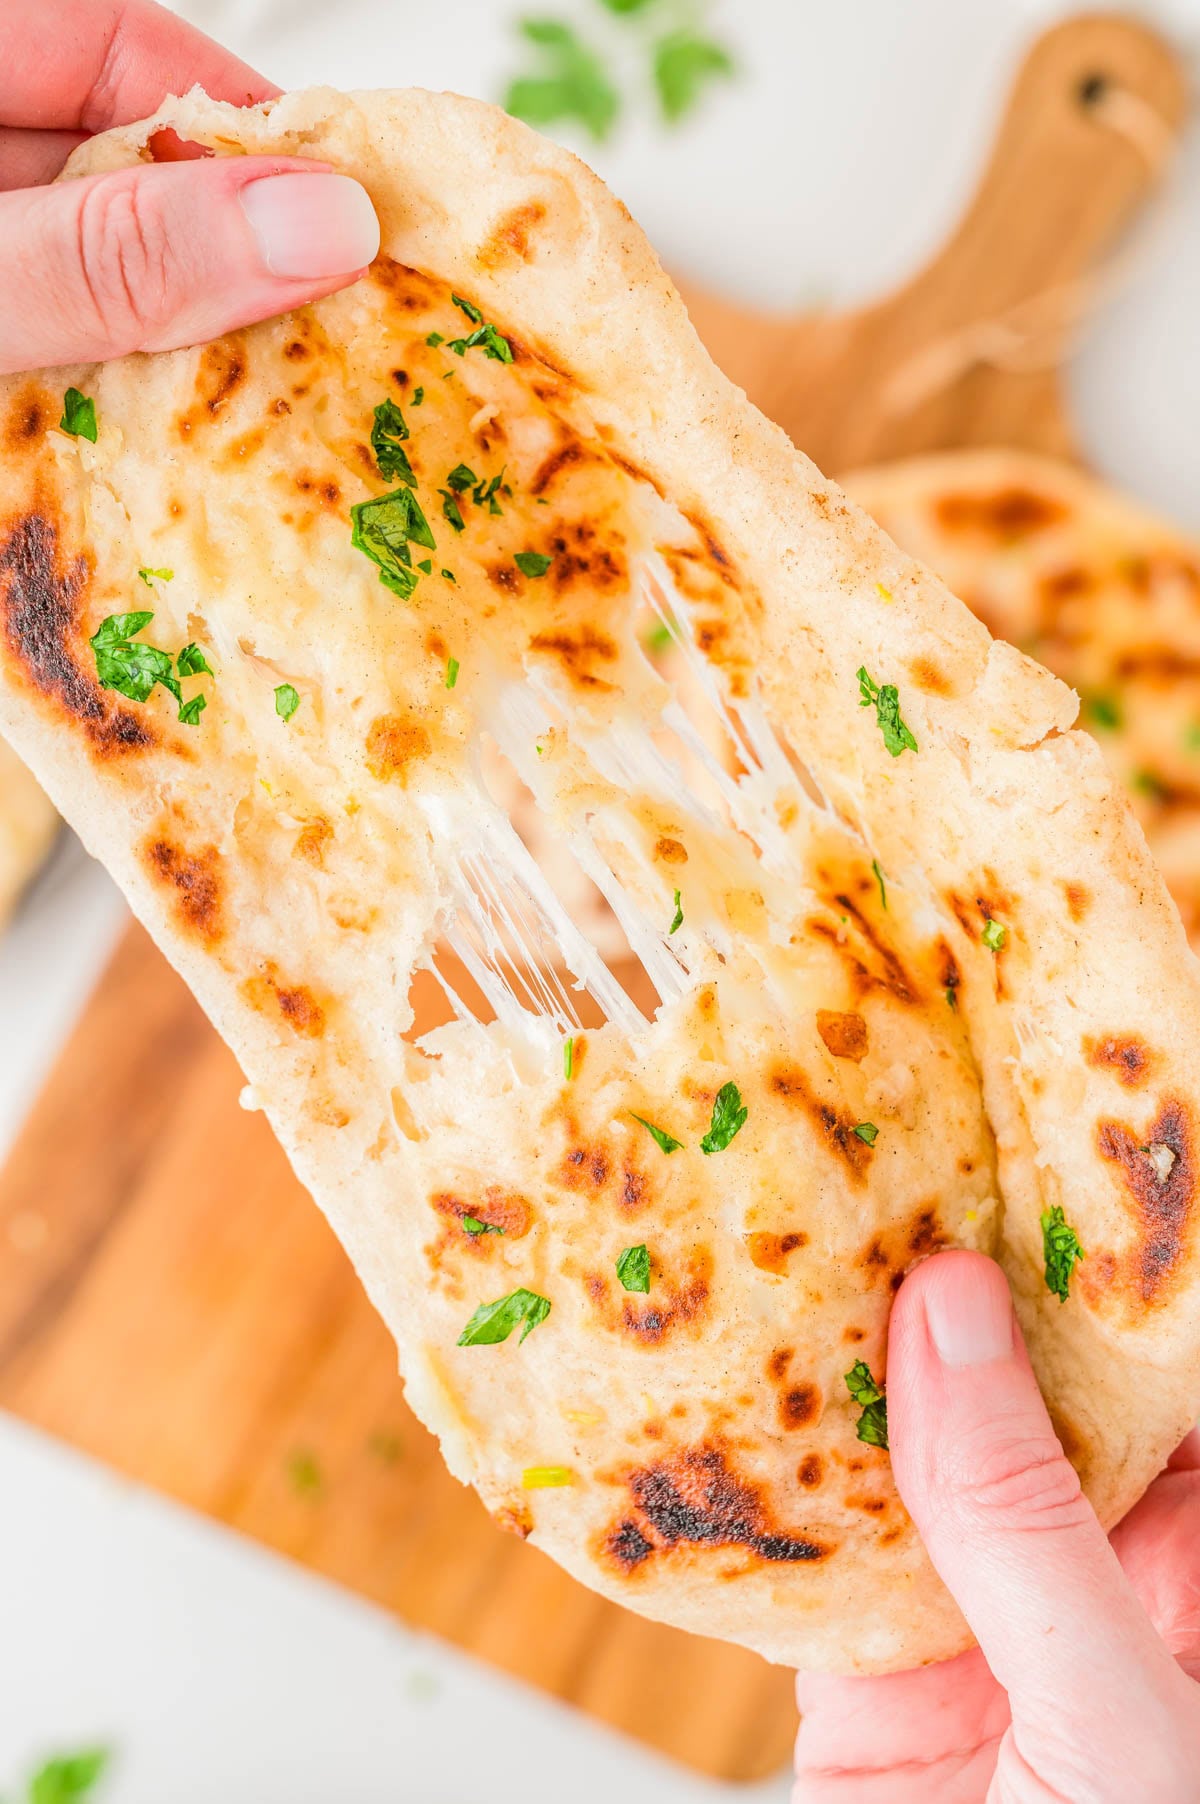
If you’re a naan fan, this homemade Cheese Naan 🧀🫓🎉 is even better! It’s stuffed with gooey mozzarella cheese and is brushed with garlic butter for so much FLAVOR! The dough only takes an hour to rise and no baking necessary – just cook the naan in a skillet and serve it with your favorite Indian or Thai food, curries of any kind, or anything saucy you want to soak up!
Easy Cheese Naan Recipe
- Cheese on the inside. If you like naan, cheese naan is going to rock your world! A bit of shredded mozzarella is stuffed into the center of each raw dough ball before cooking the naan. The resulting melted cheese center is just so good! Although if for some reason you don’t want to add cheese, you can omit the cheese.
- Made on the stovetop. Each piece of naan cooks in a hot pan on the stove, so there’s no need for a tandoor – or even your oven. As the naan cooks, I like to brush it with garlic butter for irresistible flavor. However, you can omit the garlic butter.
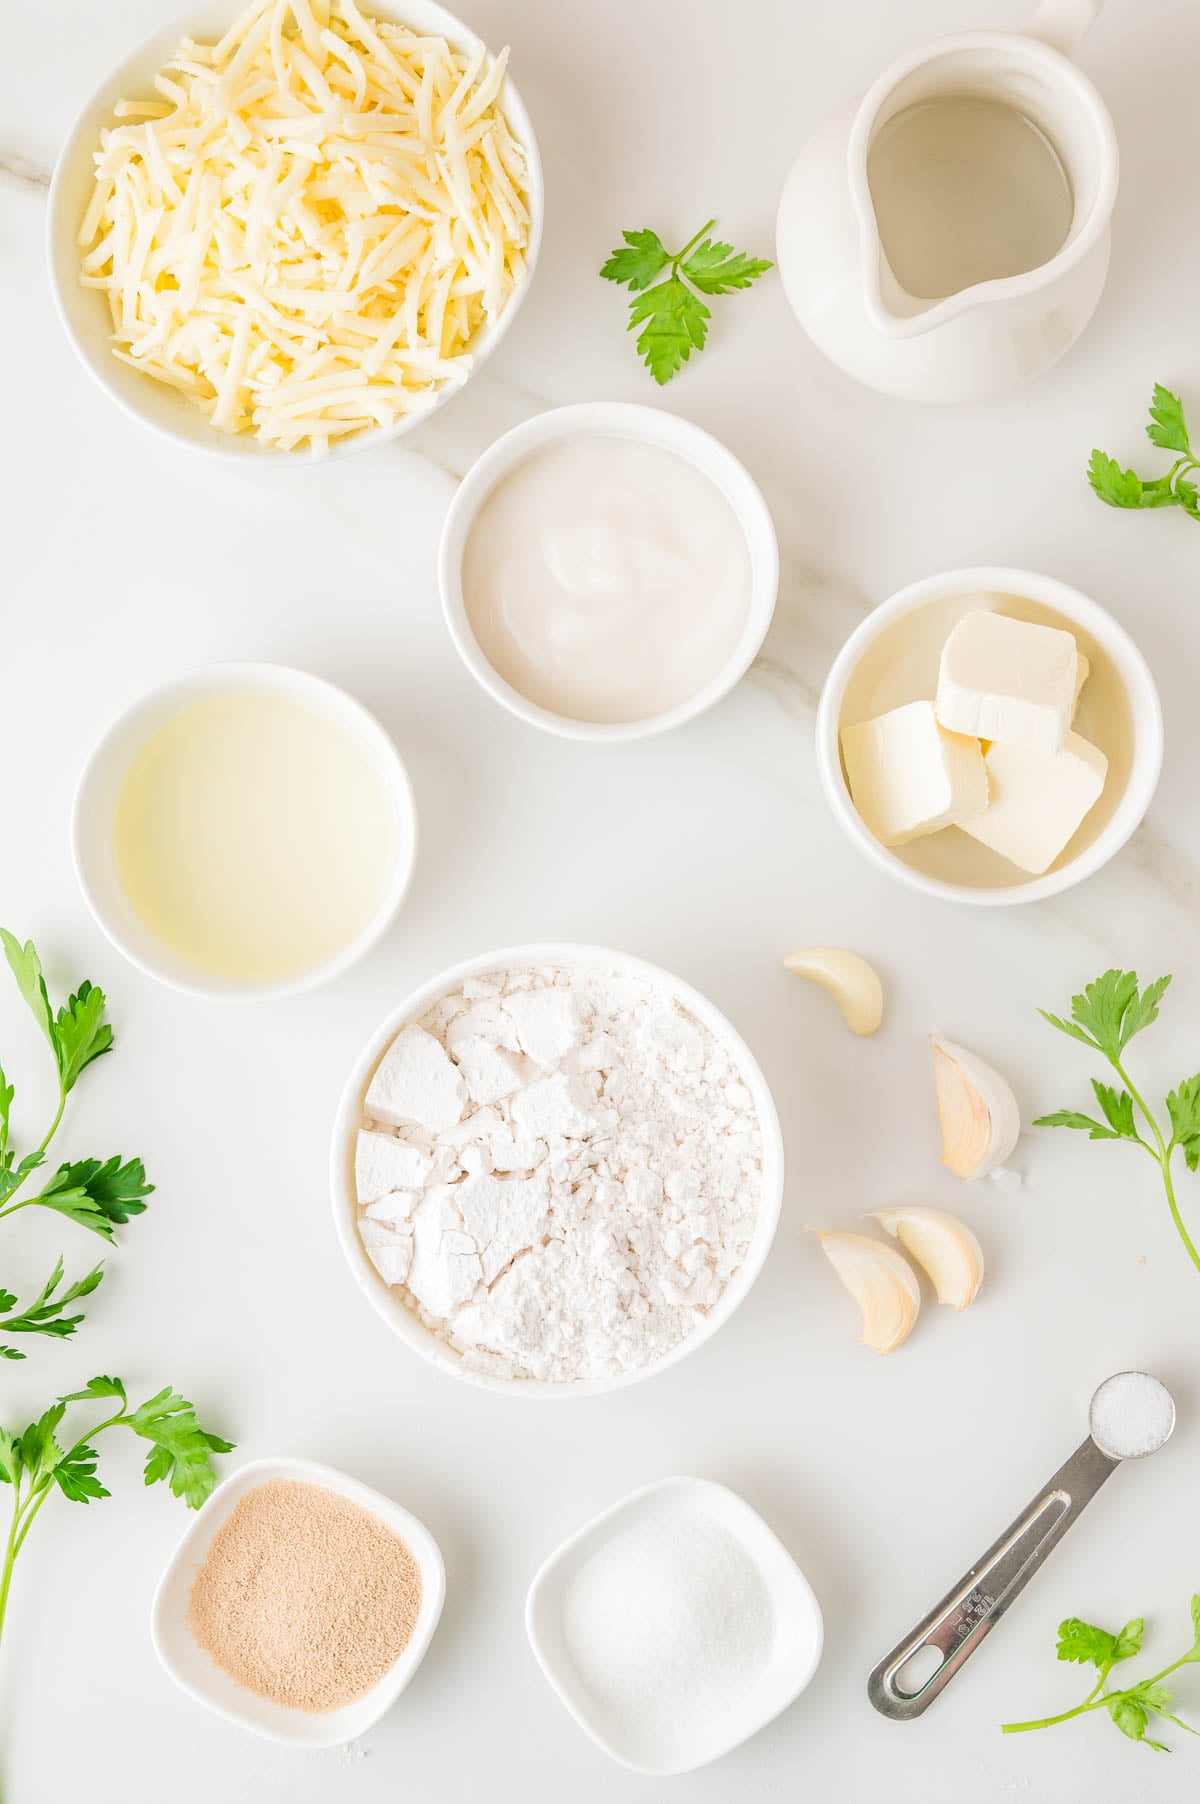
- Simple fridge and pantry ingredients. The dough is made with flour, yeast, sugar, salt, oil, yogurt, and water. Shredded mozzarella cheese rounds out the basic ingredients.
- The perfect accompaniment for so many recipes. This recipe makes eight (pieces of) naan, which is perfect for scooping up or sopping up Indian chicken curry, Thai chicken coconut curry, stovetop Indian butter chicken, slow cooker butter chicken, chicken tikka masala, soups, and stews.
what to eat with naan
Ingredients in Homemade Naan Bread
- All-purpose flour: All-purpose flour is necessary because it has gluten which is what gives the dough, and ultimately the bread, structure. I’ve never experimented with gluten-free flour or a grain-based flour like almond flour and don’t recommend it.
- Active dry yeast: It causes the dough rise and you need to use it. I haven’t tested this recipe with instant dry yeast so make sure you select active dry yeast. No baking powder is necessary because the yeast does the leavening.
- Sugar and salt: A tiny bit of granulated sugar helps feed the yeast, and salt adds flavor.
- Vegetable or canola oil: Some is in the dough and a little bit also coat the bowl so the dough doesn’t stick. You could probably use another neutral-flavored oil like grapeseed.
- Plain unflavored yogurt: It keeps the naan soft and tender. I call for ‘regular’ yogurt rather than Greek yogurt because Greek yogurt is almost too thick. If that’s all you have, I’d use 2 tablespoons Greek yogurt + 2 tablespoons water to thin it out so it’s the consistency of regular yogurt. Do NOT use flavored yogurt – even vanilla yogurt to me personally would not taste at all good in naan.
- Warm Water: Warm, not hot, since water that’s too hot can kill the yeast. 105F is the temperature you’re looking for which is essentially quite hot if you stick your finger in it, but it won’t burn you. I’ve seen recipes that use warm milk but this one uses warm water.
- Shredded mozzarella, optional: For stuffing inside each piece of dough. You could probably use another type of cheese that melts well such as Monterey Jack, Pepper Jack, Gouda, or similar. If you prefer plain naan, just leave the cheese out.
- Garlic butter, optional: Minced garlic stirred into melted unsalted butter for brushing over the warm naan as it cooks is heavenly. But you can omit the garlic, or the garlic butter, if you prefer.
- Fresh herbs, optional: Cilantro or parsley are my favorites but they’re optional.
Note: Scroll down to the recipe card section of the post for the ingredients with amounts included and for more complete directions.
How to Make Naan with Cheese
- Make the dough. Use a wooden spoon to stir together the flour, yeast, sugar, and salt. Then add the warm water, yogurt, oil, and knead it for about 5-7 minutes, or until it comes together.
- Let it rise. Put the dough back in the bowl, cover it with a clean kitchen towel, and let it rise for at least 1 hour. The warmer your kitchen, the faster it will rise.
- Divide in equal pieces. After the dough has risen, divide it into 8 balls, and flatten each with a rolling pin.
- Stuff with cheese. Place about 1/4 cup shredded mozzarella in the center of each portion of dough, ball the dough back up around it, and on a clean working surface, roll it out to about 5 to 6 inches. Make sure the cheese is fully wrapped in dough so it stays inside instead of melting out into the pan.
- Garlic butter. Melt butter in your microwave or small saute pan, and stir the garlic into the melted butter.
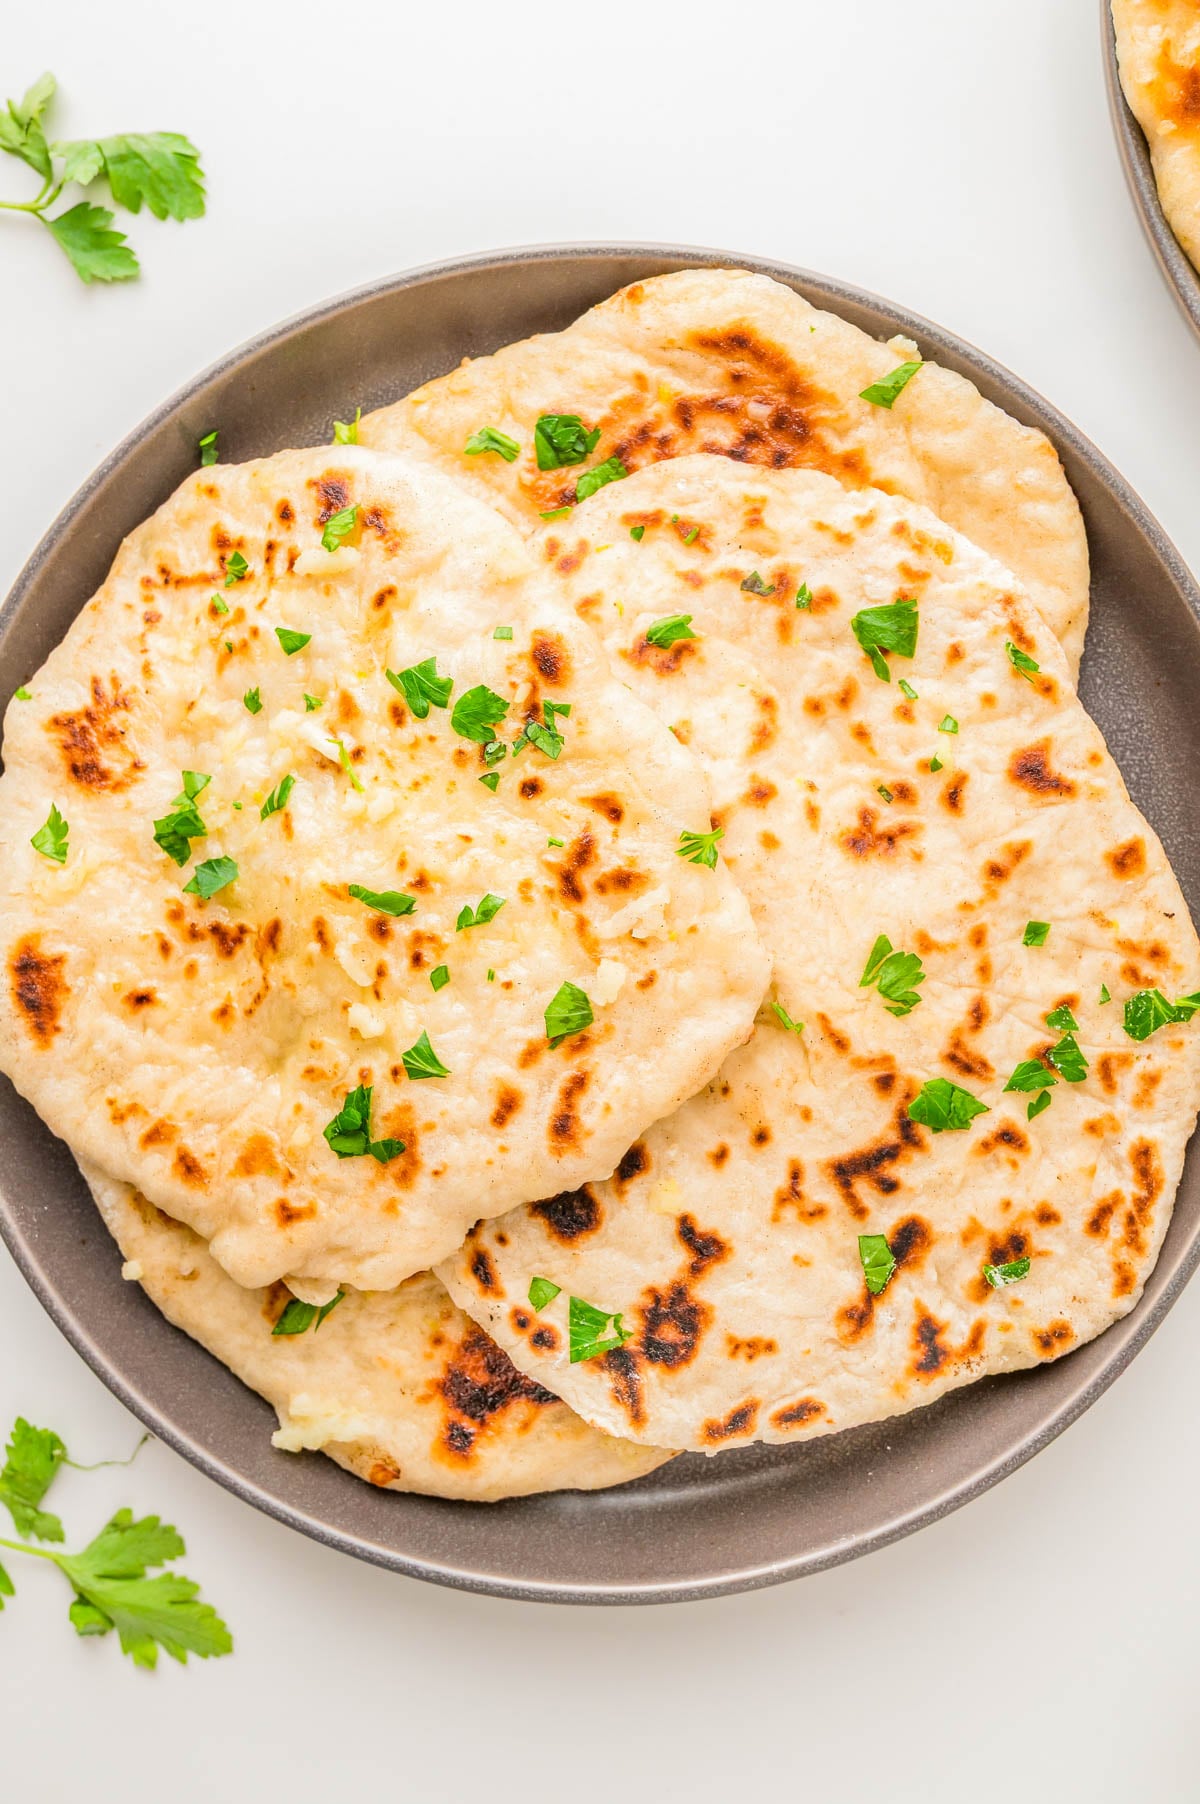
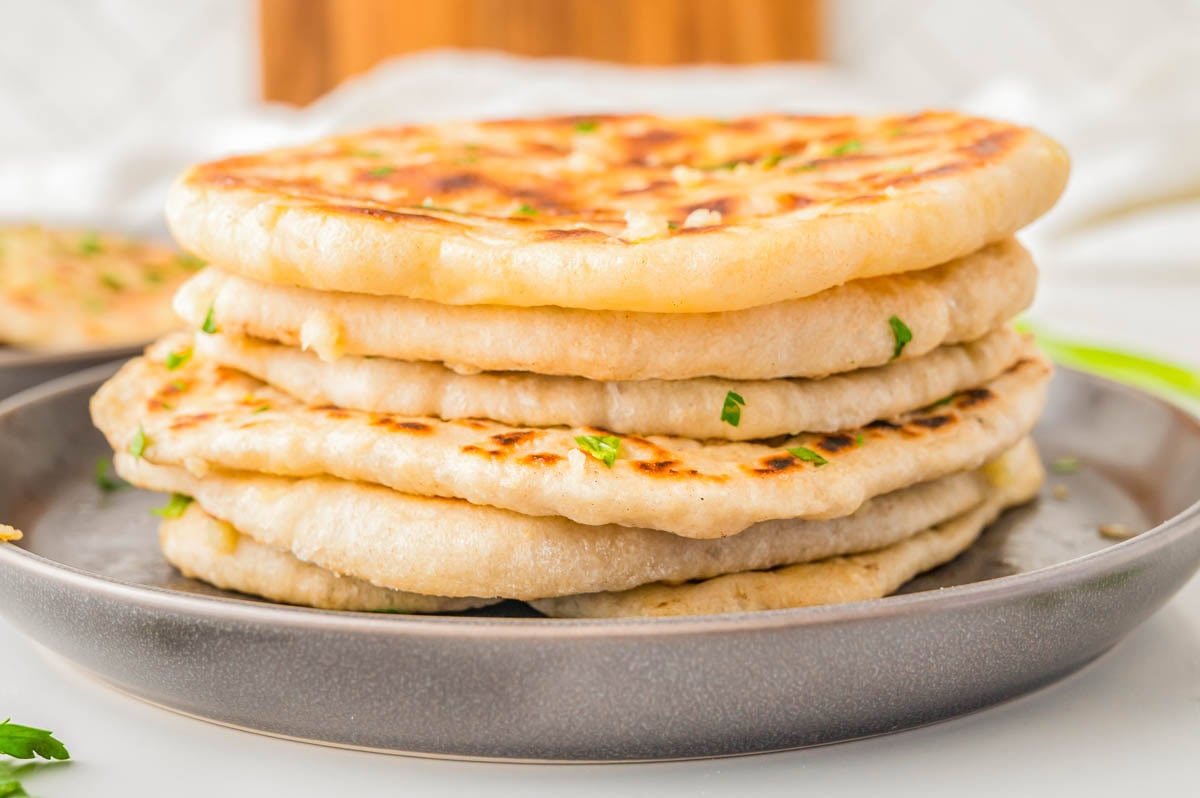
- Cook and brush. Wait until the pan is fully hot before adding the first naan, because that high heat is what gives it the brown spots. Cook each naan until it has brown spots on both sides. Brush both sides with the garlic butter right away. Repeat with the rest, top with fresh herbs if desired, and enjoy while warm.
Note: Scroll down to the recipe card section of the post for step-by-step photos and process shots of the cooking process.

Stuffing with Cheese, optional but recommended
Brushing, optional but recommended
-
Dough: To the bowl of a stand mixer fitted with the dough hook, add the flour, yeast (just add it dry, we are not mixing it into water or another liquid), sugar, salt, and give it a stir with a spatula.
-
Add the warm water, yogurt, oil, and allow the machine to knead it with the dough hook, or until a smooth dough forms. See next step for hand-mixing.Water Tip – Make sure to take the water temperature because too hot and it will kill the yeast, but too cool and it won’t activate. If you don’t have a thermometer, very hot water coming out of the tap but that you can still put your finger in it, it’s about 105F.
-
Making by Hand/No Stand Mixer – If all you have is a handheld electric mixer, do not use it; it’s not strong enough and the motor will blow out. If you’re making this without a stand mixer, add the dry ingredients to a large bowl, then the wet, and stir as long as you can with a wooden spoon. When it’s starting to get really challenging to stir, turn the dough out onto a clean, floured countertop and knead it by hand for 7-10 minutes, or until the dough is smooth and has some resistance.
-
Dough Tips for Either Stand Mixer or By Hand – The dough is not a particularly wet dough, it’s not overly shaggy, and it should come together with the indicated amount of flour (2 cups). However, if it’s very loose, wet, simply won’t come together, add additional flour one tablespoon at a time, until you can get it to come together.Don’t automatically add more flour though until you’re sure you need it because extra flour just makes dough heavy, unnecessarily dense, and less is more if you can get away with it.
-
Knead and Shape: Make sure to allow the stand mixer to knead the dough for about 5-7 minutes, stopping to scrape down the sides of the bowl as necessary. If kneading by hand, I’d say 7-10 minutes. In either method, you’re looking for a slightly sticky dough that’s increased a bit in size as you’ve kneaded it. Add a bit of oil to coat the inside of the mixing bowl, shape the dough you’ve been kneading into a ball, place it in the bowl.
-
Rise: Cover with a clean dishtowel, and allow it to rise for about 1 hour, or until nearly doubled in size. After about an hour, punch it down and take it out of the bowl. Rising Tips – Dough rises faster in a warm kitchen so if your kitchen is very cold or it’s winter, this may take closer to 90 minutes, not 1 hour. No big deal, wait until the dough has risen sufficiently.
-
Divide: Create 8 equal sized pieces of dough. If you have kitchen scale, use it.
-
Flatten: Flatten each piece of dough with a rolling pin, so that it’s about 1 inch thick. You can use a rolling pin or your palms.
-
Stuff with Cheese, optional: To the center of each piece of dough, add about 1/4 cup shredded cheese
-
Seal: Ball up the dough to seal the cheese inside. Make sure the cheese is fully enclosed otherwise it will leak out while cooking the naan.
-
Roll: Using your rolling pin, roll each of the 8 stuffed dough balls out, to approximately 5-6 inches in diameter.
-
Preheat: Heat a large skillet or large cast iron skillet over high heat on the stove.
-
Garlic Butter, optional: While the skillet heats up, melt the butter in the microwave. Once melted, stir in the garlic; set aside.
-
Cooking: Once the pan is hot, add a small amount of oil if desired to prevent sticking, and add the first disc of dough into the pan and cook on high heat until it has brown spots on both sides, about 2 minutes on the first side and 60-90 seconds on the second side. You can cook more than 1 piece at a time, just don’t crowd your skillet. Repeat the cooking process until all the dough has been cooked.Cooking Tips – All pans, ranges, air temperature, moisture content in the dough will vary so it may take a bit longer or shorter for the naan to blister and be done; regardless it won’t take long so keep an eye on them so they don’t burn. Turn the heat down to medium-high or medium if you prefer.
-
Garlic Butter: Optionally, brush with garlic butter, as desired.
-
Garnish: Optionally, evenly sprinkle with fresh herbs, to taste.
-
Serve: Serve warm with your favorite dishes such as curries, soups, or stews.
If you make it without cheese, you can store it airtight at room temp, no refrigeration needed.
Serving: 1serving, Calories: 293cal, Carbohydrates: 27g, Protein: 10g, Fat: 16g, Saturated Fat: 8g, Polyunsaturated Fat: 2g, Monounsaturated Fat: 6g, Trans Fat: 0.2g, Cholesterol: 38mg, Sodium: 327mg, Potassium: 81mg, Fiber: 1g, Sugar: 2g, Vitamin A: 374IU, Vitamin C: 0.4mg, Calcium: 160mg, Iron: 2mg
Nutrition information is automatically calculated, so should only be used as an approximation.
©averiecooks.com. Content and photographs are copyright protected. Sharing of this recipe is both encouraged and appreciated. Copying and/or pasting full recipes to any social media is strictly prohibited.