Potato Dinner Rolls (with leftover mashed potatoes)
These Potato Dinner Rolls 🥔🍞🙌🏻 are soft, fluffy, and the PERFECT homemade rolls for your next family dinner or holiday celebration including Thanksgiving, Christmas, or Easter! Mashed potatoes are incorporated into the dough which keeps these potato dinner rolls moist, chewy, and rich tasting. Even if you’ve never made homemade rolls, these are easier than you think!

Easy Potato Dinner Rolls Recipe
If making homemade bread or rolls with yeast seems daunting, don’t let it scare you off!
- I’m here to guide you through every step of the way to ensure your homemade potato rolls turn out perfectly soft, fluffy, chewy, moist, and simply irresistible!
- If you’re wondering if there really are mashed potatoes in the dough, yes, there are. And it helps make the best rolls!
- Mashed potatoes help keep the dough moist and also help bind the dough.
- And the mashed potatoes help make this bread dough extra forgiving so that if you add a bit too much (or too little) flour, or over-knead (or under-knead) the dough, your potato rolls should turn out fine.
- There’s a make-ahead option in the recipe card section if you want to prep these rolls the night before and baked them off the next day.
- I love serving homemade freshly made dinner rolls as a side dish for Thanksgiving and Christmas dinners, Easter brunch, Mother’s Day, or whenever I have my friends and family together at the table. If you’re feeling like a sweeter roll, make my favorite overnight cinnamon rolls or carrot cake cinnamon rolls!
- Sometimes these rolls are called Amish Dinner Rolls or Amish Potato Rolls.

Ingredients in Fluffy Potato Bread Rolls
- Active dry yeast – This is the kind of yeast that you should dissolve in warm liquid to make sure it’s really active. If it is, the liquid will turn frothy and foamy in about 5 minutes. I have not tried this recipe using instant yeast but you may be able to use it instead.
- Granulated sugar – This is “food” for the yeast so don’t omit the sugar.
- Whole milk – Warm it to the temperature indicated on the package directions. Don’t guess and use an instant read thermometer to be sure it’s not too hot (you don’t want to kill the yeast) but not too cool (the yeast won’t activate). I find whole milk to be best but you could probably sub with 2% milk. I’ve never used a plant-based or nondairy milk so I can’t comment on results.
- Large egg
- Mashed potatoes – Please see the section below for the 3 basic options you have here.
- All-purpose flour and salt – I’ve only made this Amish potato rolls recipe with AP flour. Bread flour would also likely work well. I don’t know if gluten-free flour would work or not.
- Melted unsalted butter, optional but recommended for brushing on the top of the baked rolls.
Note: Scroll down to the recipe card section of the post for the ingredients with amounts included and for more complete directions.


What Kind of Potatoes to Use in Potato Rolls
You need 1/2 cup mashed potatoes. You can use the following options:
- Leftover mashed potatoes – This is the easiest option if you have them on hand, but not everyone does. You also want fairly plain classic mashed potatoes for these rolls. If you have a batch of loaded bacon cheddar mashed potatoes, don’t use those.
- Making mashed potatoes on the stove – Use 1 pound Yukon Gold potatoes which is my go-to potato, although you can use a mixture of Yukon Gold and Russet potatoes. Peel and then boil until they start to break apart when picked up with a fork. Drain, and blend using a potato masher or handheld electric mixer, with 2 tablespoons whole milk and 2 tablespoons butter until smooth. This should make just under 2 cups of mashed potatoes. Just like with the instant mashed potatoes, you’ll need about ¼ cup more flour before kneading, this is most likely due to the butter content. The finished rolls taste and feel just like the ones using instant mashed potatoes.
- Instant mashed potatoes – I us used a 4-ounce packet of Idahoan Buttery Mashed Potatoes. They’re very widely available, from Amazon, Walmart, Aldi, and other stores. Or use your favorite brand of instant mashed potatoes. Simply boil two cups of water, add the instant mashed potatoes, stir, let sit for a few minutes, then stir again. When making the rolls, you’ll need about ¼ cup more flour before kneading. The rolls taste extremely similar to rolls made with scratch mashed potatoes (above). The most notable difference is that the rolls come out a tiny bit crispier on the bottom, but soften after about an hour.
Note – If you don’t have leftover mashed potatoes and are either making mashed potatoes for this recipe or are making instant potatoes, you will have some leftover potatoes because it’s too hard to scale down recipes to hit 1/2 cup right on the nose.


How to Make Amish Dinner Rolls
This is a broad overview how to make dinner rolls with mashed potatoes. See the recipe card below for complete info.
- To a large bowl or bowl of a stand mixer, add the yeast, sugar, warm milk, and allow the yeast to proof, or become frothy and bubbly; about 5 minutes.
- Add half of the melted butter, egg, and beat well. Add the mashed potatoes and beat again.
- Add the flour one cup at a time, the salt, and knead for at least 10 minutes using your dough hook on your stand mixer or you can do this by hand on a clean, floured counter top.


- Make a smooth, soft dough ball, place it in a lightly greased bowl (same mixing bowl is fine), cover with plastic wrap or a kitchen towel, place in a warm nook, and allow the dough to rise for 1 hour.
- After 1 hour, punch down the dough, roll it out with a rolling pin on a lightly floured surface, divide the dough into 12 evenly sized balls, place them in 9×13-inch baking dish, and allow them to rise for 1 more hour.
- Bake for about 30 minutes or until golden brown, brush with melted butter, and serve!


Tips for The Best Potato Rolls
- Warm milk helps to activate the yeast by fermenting and producing carbon dioxide. Cold milk can slow the yeast while conversely milk that is too hot can kill the yeast. It’ll take about 45 seconds to warm the milk but microwaves vary so take the temperature with a digital thermometer and don’t guess.
- If your milk and yeast mixture does not get frothy this probably means your yeast is too old in which case start over with new yeast.
- Resist the urge to over-flour the dough. The texture of the dough may feel a bit tacky but it won’t stick to a dry finger when touched. Dough that has been properly kneaded in a mixer will gently spring back when lightly pressed. This means that the gluten has been sufficiently developed and you can move on to the next step.
- Take a picture of your dough in the bowl before the first rise begins. I find this is helpful to judge how much the dough rose during and hour. Likewise, before the second rise, take a photo of your shaped dinner rolls in the baking dish so you can see that they have risen.
- Dough rises faster in a warm kitchen. If your kitchen is very chilly, you may want to allow extra rising time on both rises – more like 90 minutes on the first rise and 75-90 minutes on the second rise.
- The rolls will not rise all that much during the baking process. Therefore, on the second rise, they should rise enough to fill your baking dish almost completely. Because after they’re done rising the second time, this is about how large the rolls will be when done.
- Rotate your pan once halfway through baking to ensure even browning.
- Rolls that feel ever-so-slightly hard after baking is normal. Melted butter helps soften them, gives them a beautiful golden color, and irresistible buttery flavor.
- If you’re curious about making sweet potato dinner rolls, you’ll follow this general process using leftover mashed sweet potatoes that you have on hand rather than classic mashed potatoes. Or just make my Honey Butter Pumpkin Dinner Rolls – they’ve got sweet potato vibes going on!
- I’ve never made this recipe in a bread machine so I’m not sure what to suggest since I don’t own one!


Make-Ahead and Storage
Make Ahead: After the second rise with the dinner rolls in the baking dish, you can stop, cover the it tightly with plastic wrap, and place it in the fridge overnight. Take the dish out of the fridge 2 hours before you plan on baking the potato dinner rolls to allow them to come to room temperature.
Room Temperature Storage: Store at room temperature in an airtight container or bag for up to 5 days. However, these rolls are best enjoyed while still warm from the oven. You can zap them for 10 seconds in your microwave if desired.
Freezer Storage: You can freeze baked rolls for up to 3-4 months. Allow them to thaw on the counter and serve. You can reheat in a very low oven to just add a bit of warmth. Some people freeze unbaked dough but I prefer to freeze dough I’ve already baked into rolls.


- Proofing the Yeast: To the bowl of a stand mixer (or large mixing bowl), add the yeast, sugar, warm milk, and allow the yeast to proof for about 5 minutes. Tip – This means that it’s turned frothy and bubbly. If it hasn’t, it means your yeast isn’t active. Start over because without activated yeast, your rolls will never rise properly.
- Making the Dough: Add half of the melted butter, egg, and beat on medium-high speed using the paddle attachment of a stand mixer.
- Add the mashed potatoes and mix again to incorporate.
-
Add the salt, and then add the flour 1 cup at a time, with the mixer running. Continue adding the remaining flour and mix until a ball of dough forms. If you don’t have a stand mixer, do this with a wooden spoon and elbow grease. Don’t use a handheld electric mixer because it’s not powerful enough.Flour Tips – If you’re using freshly made scratch mashed potatoes OR instant mashed potatoes, you’ll likely need to add 1/4 cup additional flour because freshly made, warm potatoes will absorb more flour. No matter what form of mashed potatoes you use, if the dough is VERY sticky or isn’t really coming together into a large ball, add additional flour a couple tablespoons at a time, until a smooth dough ball forms that’s not overly sticky. Resist the urge to over-flour the dough because the finished rolls will be denser and heavier the more flour you add now.
- Kneading: Change to the dough hook and knead for 10 minutes until you have a nice, smooth, large round ball of dough. Alternatively, if you don’t have a stand mixer, flour a clean countertop or work surface, turn the dough out onto it, and knead it for 10-15 minutes. Add additional flour, as needed, to prevent the dough from sticking to the sides of the stand mixer or your hands.
-
First Rise: Spray the mixing bowl you used with cooking spray or grease it with a bit of olive oil, add the dough ball into it, and cover the top of the bowl with a tea towel or plastic wrap (spray the underside of the plastic wrap with cooking spray if desired to prevent sticking).Allow the dough to rise for 1 hour. Rising Tip – The warmer your kitchen, the faster the dough will rise. If your kitchen is particularly cold, you may want to allow the dough to rise for closer to 90 minutes rather than 60.
- Punch Down and Roll Out: After the first rise, remove the dough from the mixing bowl, punch it down with a closed fist, and roll it out into a large rectangle so you can slice it into 12 evenly sized pieces of dough. You can use a sharp knife or pizza cutter.
-
Rolling and Second Rise: Roll each of the 12 pieces of dough between your hands and place them into a cooking sprayed or greased 9×13-inch baking dish (ceramic or glass recommended, not metal). Allow the dough balls to rise, covered, for 1 more hour. Rising Tips – Again, if your kitchen is cold, you may want to extend this to closer to 90 minutes. They should rise enough to fill your 9×13-inch baking dish almost completely. They will not rise much while baking, so once they are done rising the second time, this is about how large the rolls will be when fully done. Make-Ahead: If you’re going to make these ahead of time (such as the night before an event), complete this step of the second rise, and then after the second rise, cover your pan tightly with plastic wrap, and place it in the fridge for up to 12 hours. Set the pan on your counter for about 2-3 hours before you plan to bake the rolls off. Don’t bake with a cold pan/cold dough. During the final 30 minutes of the second rise, preheat your oven to 350F.
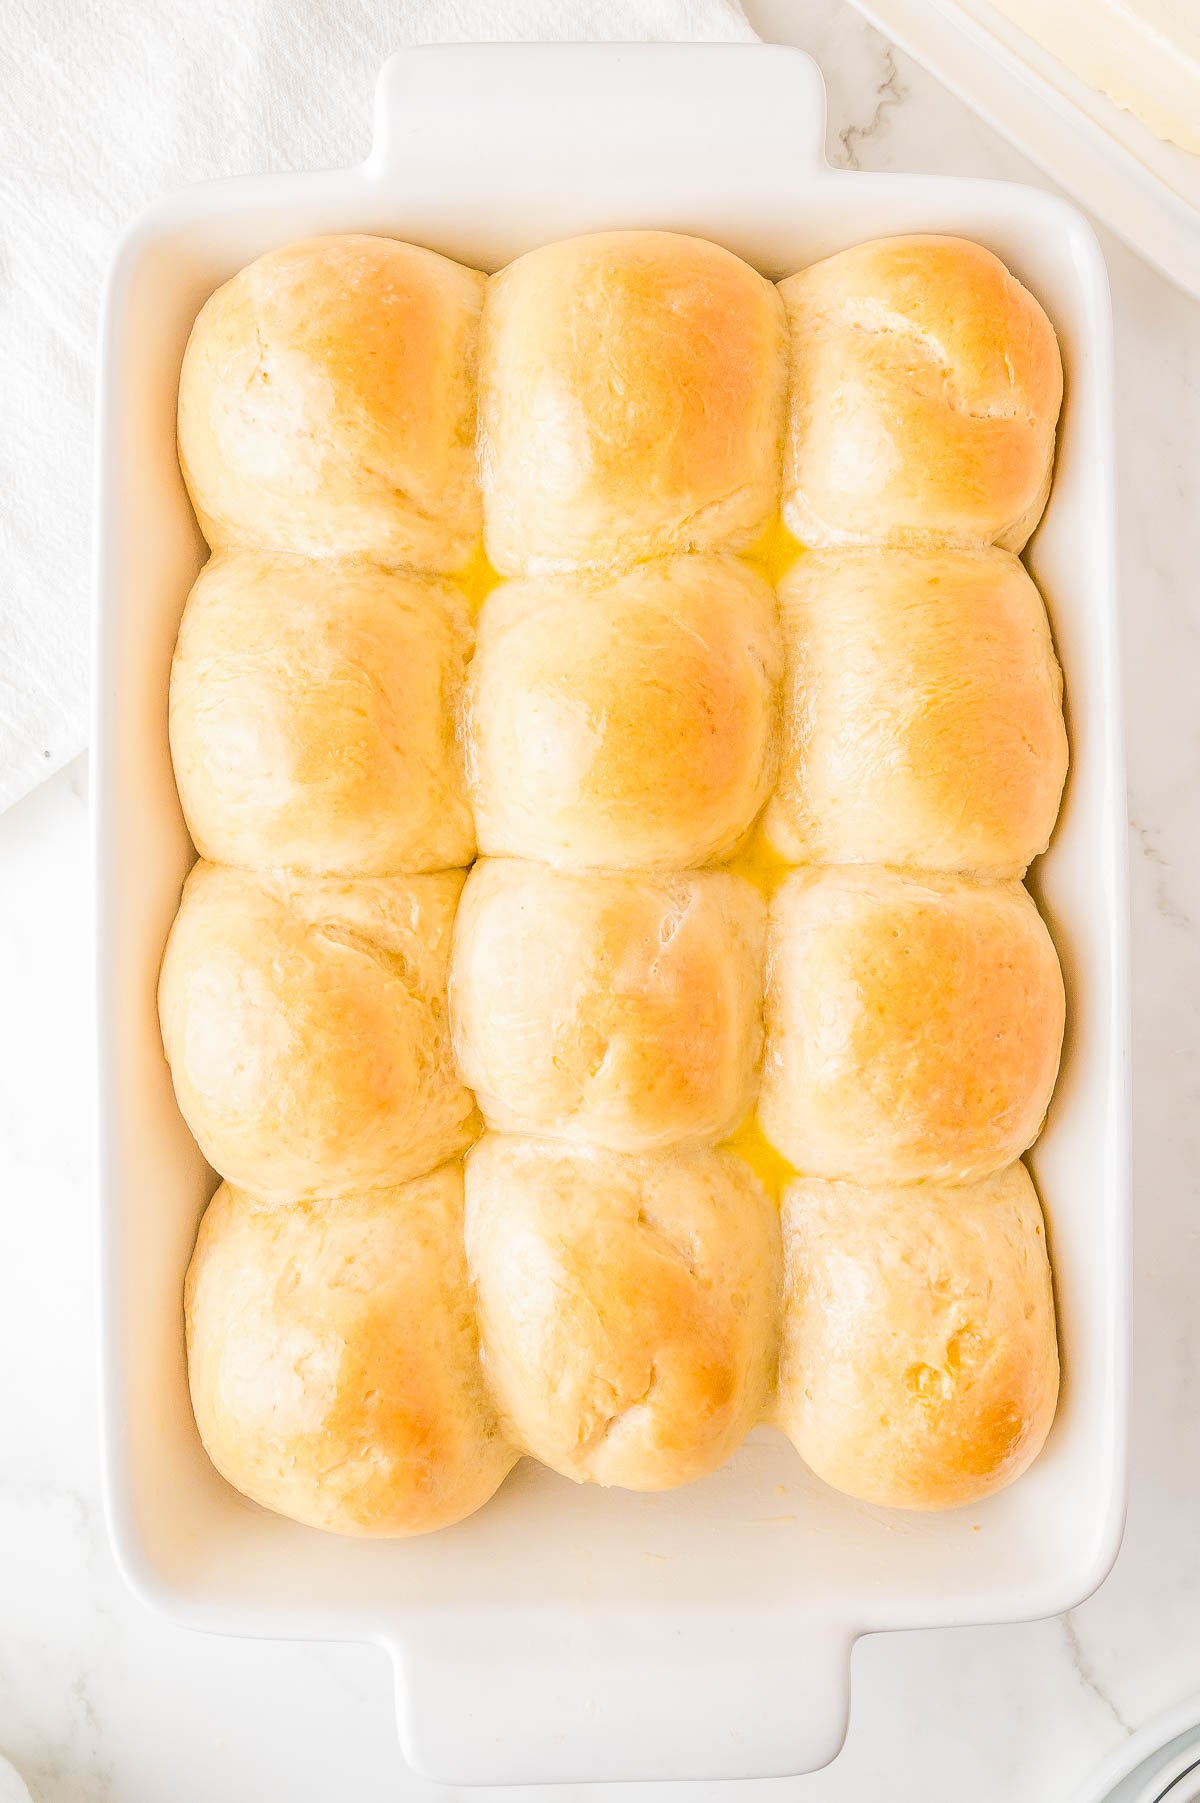
- Baking: Bake uncovered for about 30 minutes, or until the rolls are set and done. Rotate your pan once halfway through baking to ensure even browning. When they’re done, the rolls should be lightly golden browned on top, set, and if you take the internal temp of a roll, a digital thermometer should register 190-200F.
- Butter Brushing: After taking the rolls out of the oven, immediately brush them with butter. This adds flavor, richness, and the butter helps soften the exterior of the rolls because it’s not uncommon for the rolls to seem a bit hard on the exterior after baking; they’ll soften with butter. Serve warm and fresh.
Freezer Storage: You can freeze baked rolls for up to 3-4 months. Allow them to thaw on the counter and serve. You can reheat in a very low oven to just add a bit of warmth. Some people freeze unbaked dough but I prefer to freeze dough I’ve already baked into rolls.
Serving: 1roll, Calories: 255kcal, Carbohydrates: 32g, Protein: 8g, Fat: 11g, Saturated Fat: 6g, Polyunsaturated Fat: 1g, Monounsaturated Fat: 3g, Trans Fat: 0.3g, Cholesterol: 98mg, Sodium: 235mg, Potassium: 133mg, Fiber: 1g, Sugar: 2g, Vitamin A: 379IU, Vitamin C: 2mg, Calcium: 45mg, Iron: 2mg
Nutrition information is automatically calculated, so should only be used as an approximation.